How to Solder for Electronics: Demystifying Soldering
Soldering is one of those skills that can look deceptively simple but takes patience and practice to master. Whether you’re repairing a PCB, assembling a kit, or building your own project, a solid solder joint makes all the difference between a reliable connection and an intermittent fault.
Below we’ll walk through the essential tools, some optional helpers, and a few pro-level tricks that’ll make your soldering smoother, safer, and more enjoyable.
Tools You’ll Need
Essential Equipment
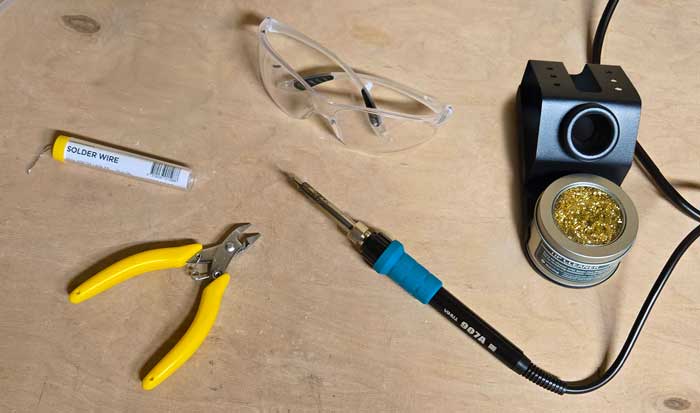
Essential soldering tools:
- Soldering iron – Choose a temperature-controlled station if possible (e.g. 60 W+). Cheap irons work, but temperature stability is key for good joints.
- Iron stand & sponge or brass wool – Keeps your iron safely parked and the tip clean. A brass wire cleaner works even better than a wet sponge for tip care.
- Solder wire – Common diameters are 0.8 mm or 1.0 mm. Beginners usually start with leaded 60/40 solder because it flows and melts easier.
- Side cutters – For trimming component leads.
- Safety goggles – Protect your eyes from hot solder splatter or clipped leads.
Optional gear
Optional (but highly recommended):
- Helping hands or PCB vise – Holds your board steady while you work.
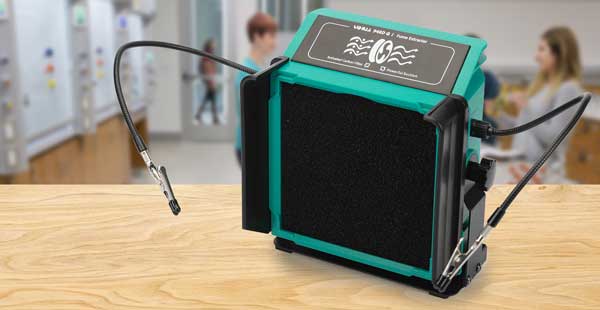
- Fume extractor or fan – Removes solder fumes from your workspace (important for health).
- Digital microscope or magnifier – Great for SMD (surface-mount) components.
- Silicone soldering mat – Protects your bench from heat and dropped solder.
- Flux – A chemical cleaner that helps solder flow and stick better.
- Desoldering wick (braid) – Absorbs molten solder for cleanup or rework.
- Solder sucker (pump) – Useful for removing through-hole solder quickly.
Frustration as a Learner Is Normal

Gaaaaah!
Everyone struggles at first. Solder that refuses to stick, components that move at the last second, or joints that look dull and crusty – these are all part of the process. The key is patience and preparation.
A good joint should look smooth and shiny, like a tiny volcano. If it looks dull, blobby, or cracked, it’s probably what’s known as a cold solder joint.
Avoiding Cold Solder Joints
The dreaded cold solder joint
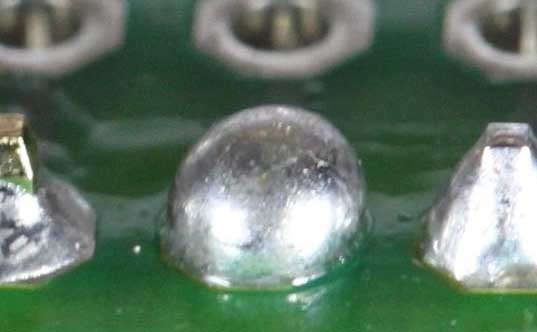
A cold joint happens when the solder doesn’t fully melt or the parts move before the solder solidifies. They cause unreliable connections or intermittent faults.
To avoid cold joints:
- Heat both the pad and the component lead – not just the solder.
- Wait a second or two for both to reach soldering temperature before feeding in solder.
- Don’t move the part until the solder has cooled and solidified.
- Keep your iron tip clean and tinned.
If your solder looks dull or grainy, reheat it with a bit of flux until it reflows into a smooth surface.
The Magic of Flux
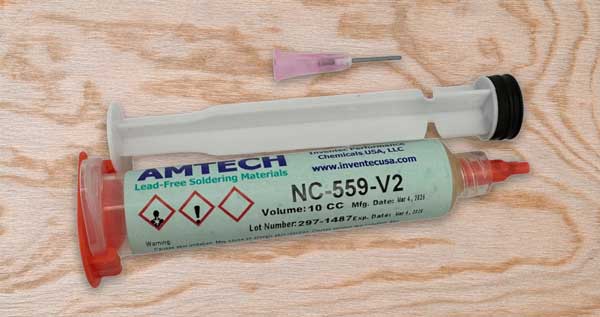
The magic of solder flux
Flux removes oxides from metal surfaces, allowing solder to flow smoothly. Many solder wires include a “rosin core” (flux inside), but applying extra flux directly to the joint can make all the difference – especially with old, oxidised pads or SMD rework.
A small brush or flux pen helps apply it precisely. Always clean excess flux residue afterward, especially if it’s not a “no-clean” type, as it can attract moisture or dust.
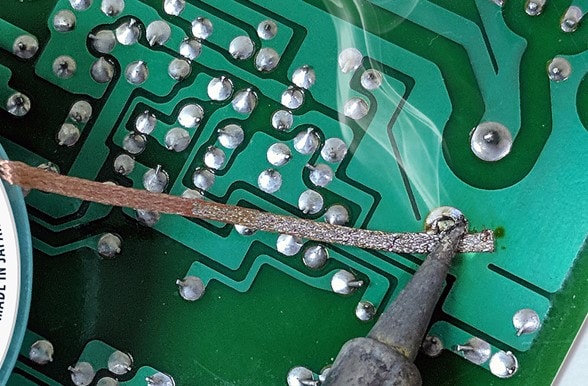
Desoldering Techniques
Desoldering tips
Sometimes you’ll need to remove solder – to fix mistakes or swap components. Here are the main methods:
1. Desoldering Pump (Solder Sucker)
Heat the joint until the solder fully melts, then trigger the pump to suck it away. Works best for through-hole joints.
2. Desoldering Braid (Wick)
Place the braid over the joint, apply heat, and let the solder soak up into the copper braid. Use flux for better absorption.
3. Desoldering Gun
An electric desoldering gun combines heat and vacuum suction. It’s faster and cleaner, ideal for frequent repairs.
4. Adding Leaded Solder to Unleaded Joints
A neat trick: if you’re trying to desolder a lead-free joint, mix in a small amount of leaded solder first. It lowers the overall melting point and makes removal much easier.
Leaded vs. Unleaded Solder
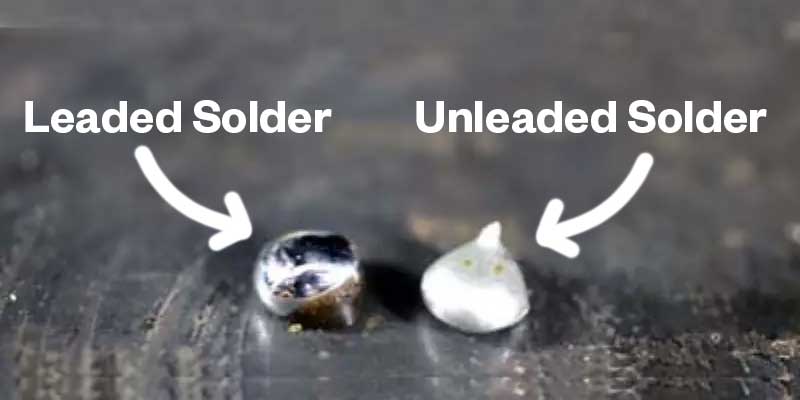
Leaded vs. Unleaded
Leaded solder (Sn60/Pb40)
✅ Melts around 183 °C
✅ Flows easily and gives shiny joints
❌ Contains lead – wash hands after use
Lead-free solder (Sn99/Cu1 or similar)
✅ Environmentally friendly and required for commercial manufacturing (RoHS compliant)
❌ Higher melting point (~220 °C)
❌ Harder to work with for beginners
For hobby or repair work (especially in NZ), many still prefer leaded solder for ease of use and reliability – just use it responsibly and ventilate well.
Relevant products
-
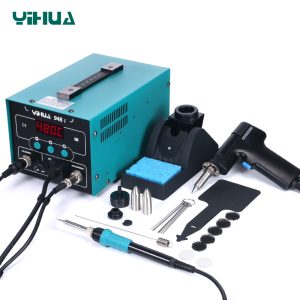
YIHUA 948 I Multi Function Adjustable Soldering Desoldering BGA Rework Soldering Station
$253.00 incl. GST -
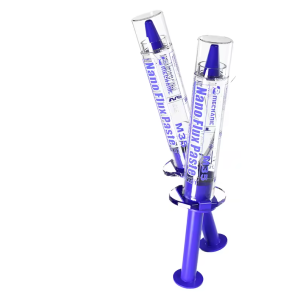
MECHANIC M35 Nanometer Lead-Free Solder Flux Paste Syringe
$8.19 incl. GST -
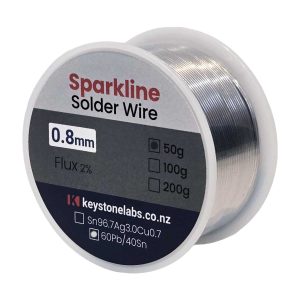
Solder Wire 60/40 Roll 0.8mm 50g
$14.90 incl. GST -
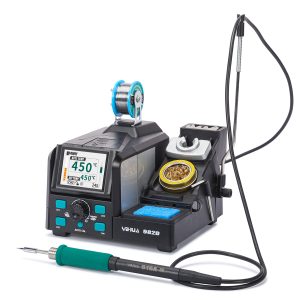
YIHUA 982D Professional Rapidly Heating Soldering Iron Station
$283.94 incl. GST -
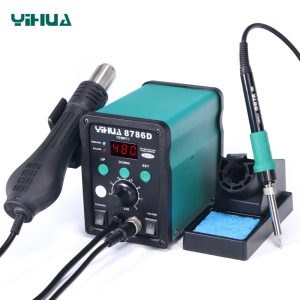
YIHUA 8786D SMD Rework Soldering Station 740W 2 in 1 Digital Display Hot Air Gun & Soldering Iron
$213.00 incl. GST